LLM interaction
Sessions and colors
npx inbase run opens 10 empty chat slots on the map. Each slot has a color.
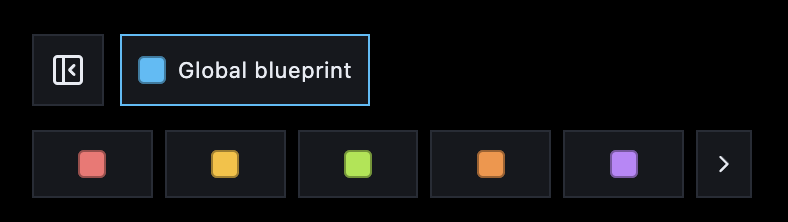
| Color | Command | Alias |
|---|---|---|
| Coral | /coral | /red |
| Amber | /amber | /yellow |
| Lime | /lime | /green |
| Orange | /orange | |
| Violet | /violet | /purple |
| Teal | /teal | |
| Crimson | /crimson | |
| Forest | /forest | /darkgreen |
| Grey | /grey | /gray |
| White | /white |
Connect a regular chat by starting with a color command and your request:
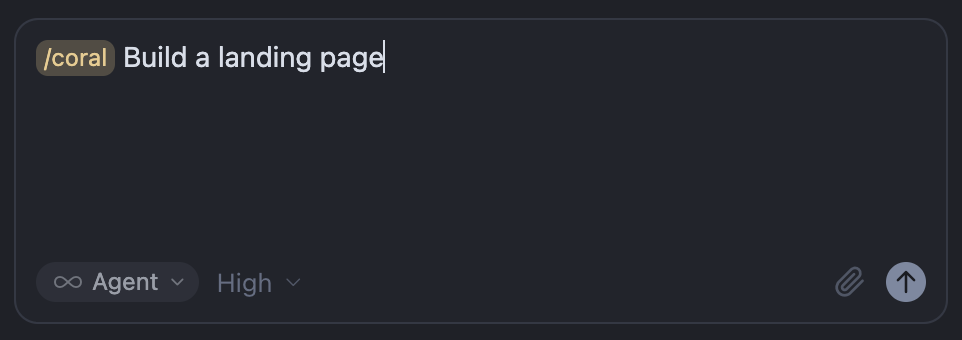
That attaches the chat to that color’s empty slot — Coral in the example above.
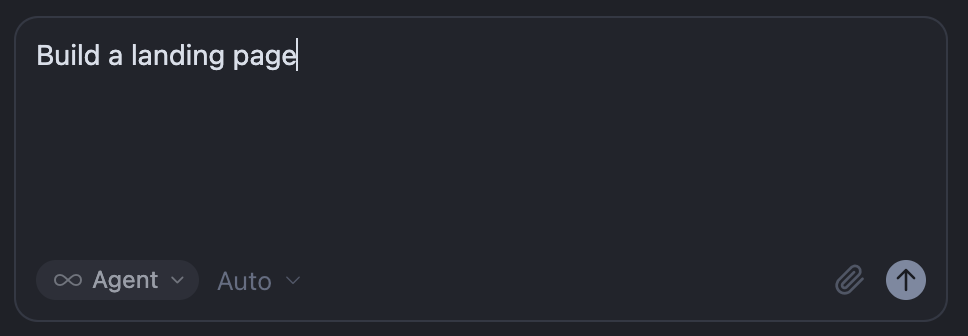
If you skip the command and only send the request, Inbase attaches the first available color instead:
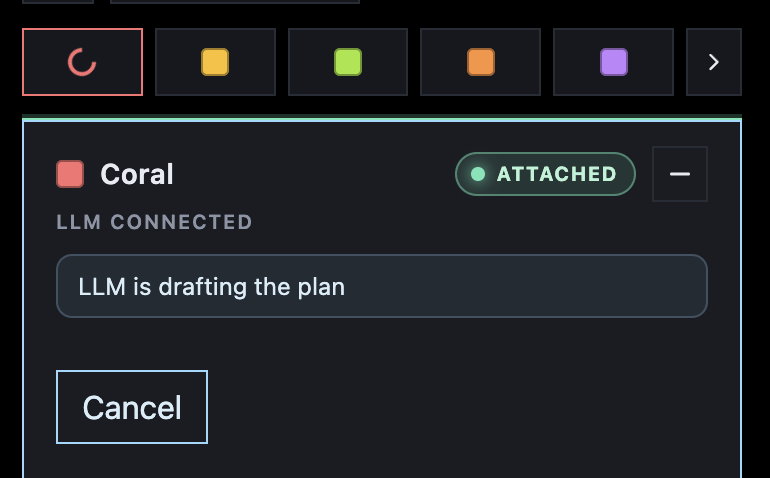
When a chat is attached, the map opens that color’s LLM session window. Look for ATTACHED / LLM CONNECTED and the current status (for example “LLM is drafting the plan”):
There is no /blue command: blue is not a chat slot. It is the global blueprint, shared by every LLM session — covered in the next section.
Drawing a blueprint
You draw a blueprint on top of the map — the spatial plan the LLM must follow. Place it before a chat connects, or keep adding after the chat has attached.
Pick a session color in the row above the session window to draw on that color’s local blueprint. Global blueprint (next to the fold-in control) draws on the shared blue layer and hides the session window. Hide, Clear, and Cleanup apply to the active color.
Add folders
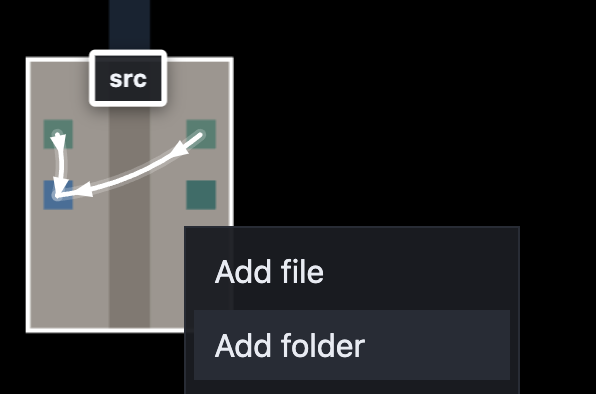
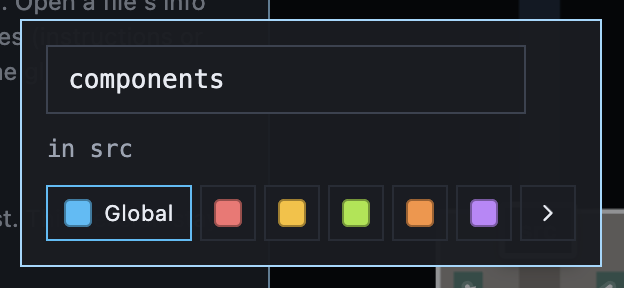
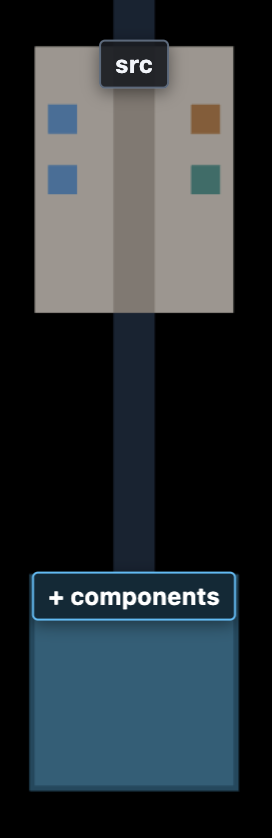
Right-click a folder on the map and choose Add folder. For example, plan a components folder under src:
- Open the context menu and choose Add folder:
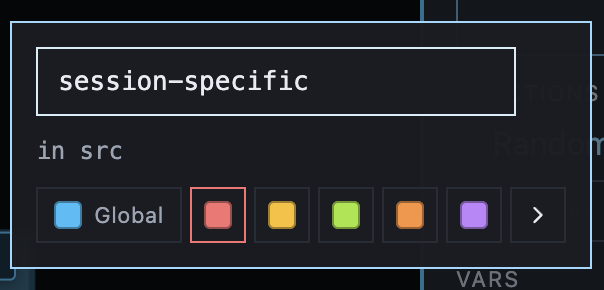
- Enter the name and choose which blueprint it belongs to — Global or a session color:
- The planned folder appears on the map (blue when it is on the global blueprint):
Add files
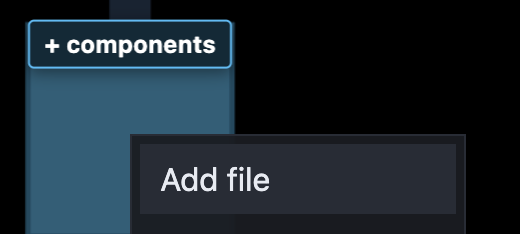
Right-click a folder and choose Add file. For example, RandomColorGenerator.tsx inside components:
- Open the context menu and choose Add file:
- Enter the file name (it is created in that folder on the active blueprint):
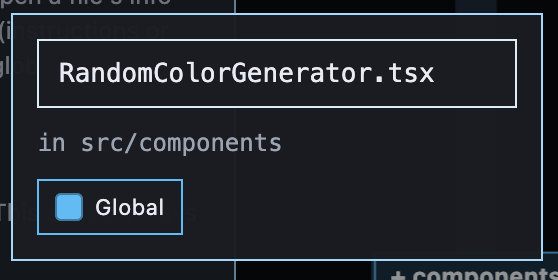
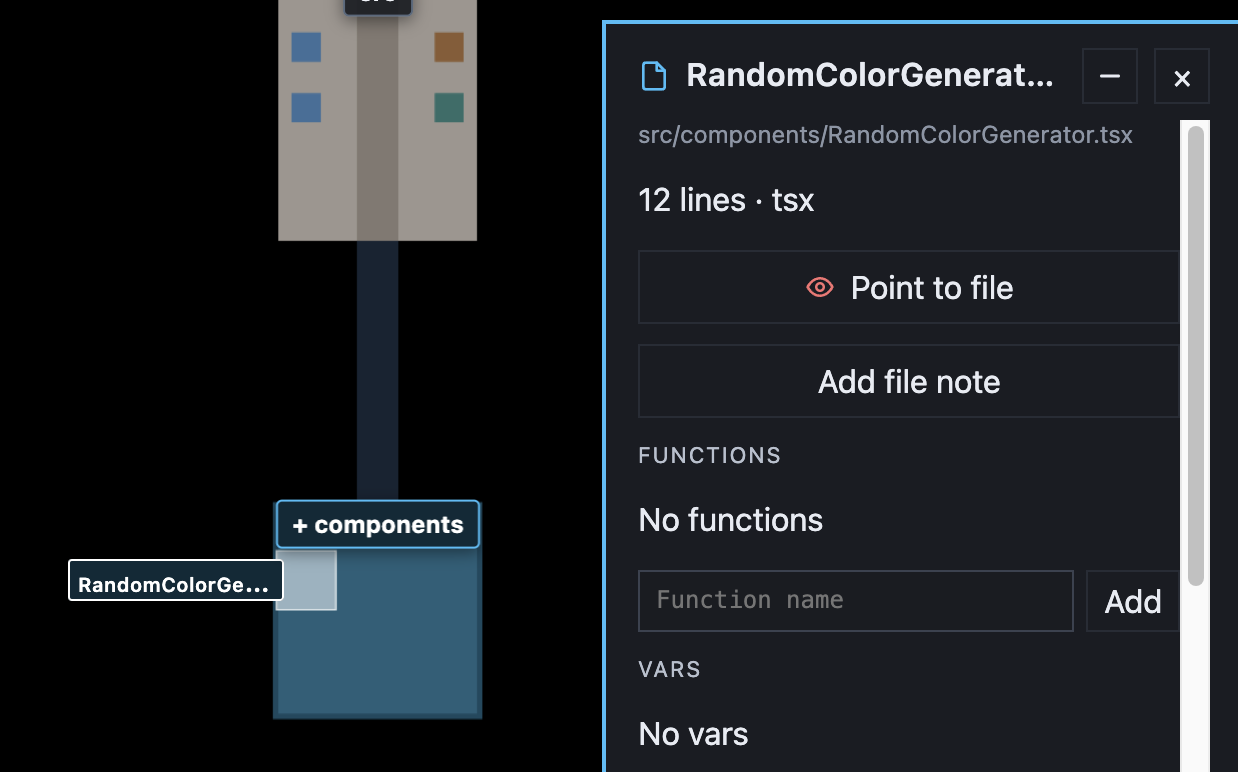
- The file block appears on the map. Click it to open the info panel:
Add function and vars
In the info panel, add the functions and vars the file should contain. Type a name and click Add — the LLM treats those symbols as part of the blueprint:
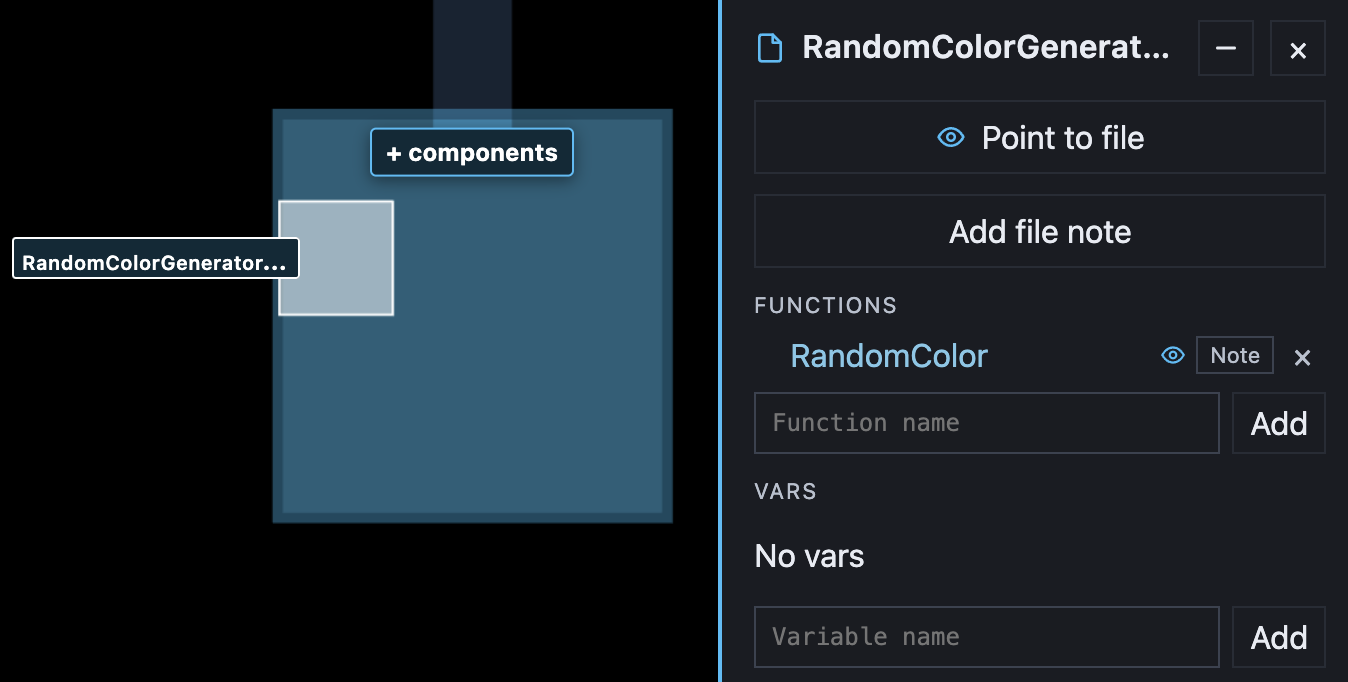
You can also add imports, or a note on a symbol for extra instructions or pseudo code.
File notes
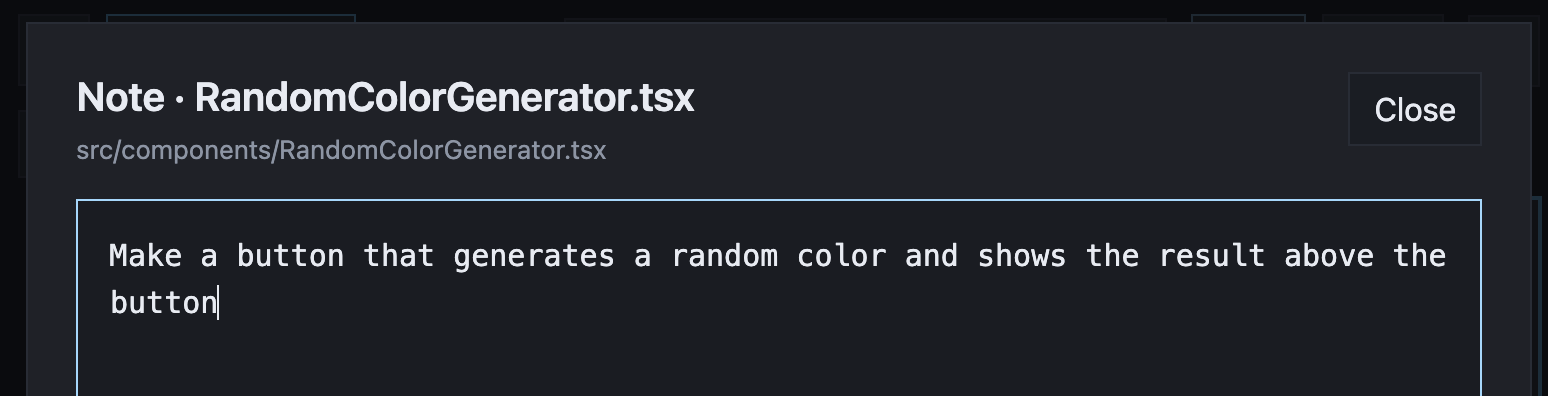
Use a file note for free-form instructions the LLM should follow for that file. In the info panel, click Add file note:

Write what the file should do, then close the note:
Session specific blueprint
Blue is always the global blueprint — every LLM session sees it. The other colors are session-specific: only the chat attached to that color receives that layer.
When you add a folder or file, pick Global or a session color at the bottom of the dialog:
Planned items take that color on the map. Here components is global (blue) and session-specific belongs to Coral (red):
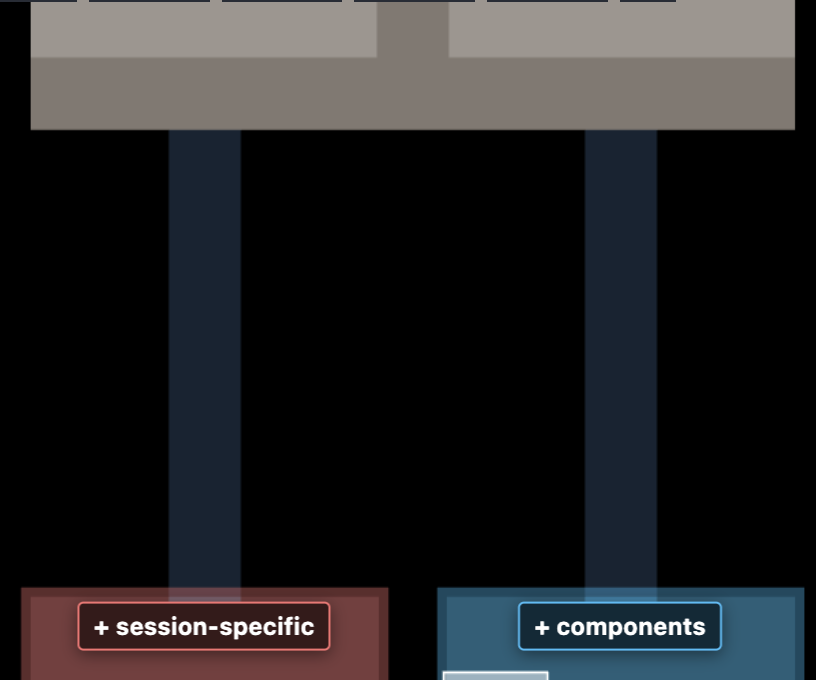

Left to right: the first folder is local to /coral, the second is local to /amber, and the blue folder is the global blueprint — shared with both LLM sessions.